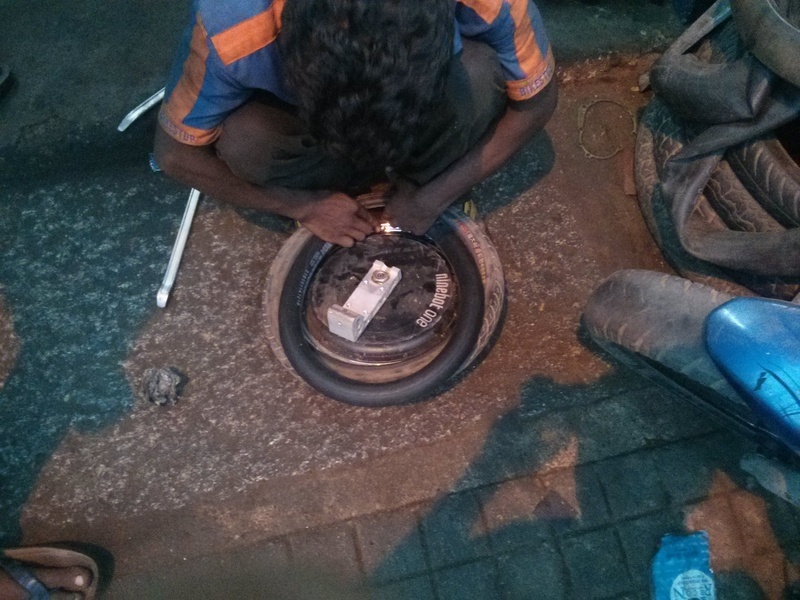
The Ninebot one that we have, was lying idle for a couple of days due to a puncture in the tire. We are demoing the unicycle at Construkt fest here in Bangalore. So we decided to fix the puncture.
Overall it took us close to 4hrs to fix the puncture. Apparently it seems we have to tear down the entire unicycle to repair a puncture. This was super painful. This time includes 2 trips to the puncture shop, tear down, putting it back and taking pictures in between.

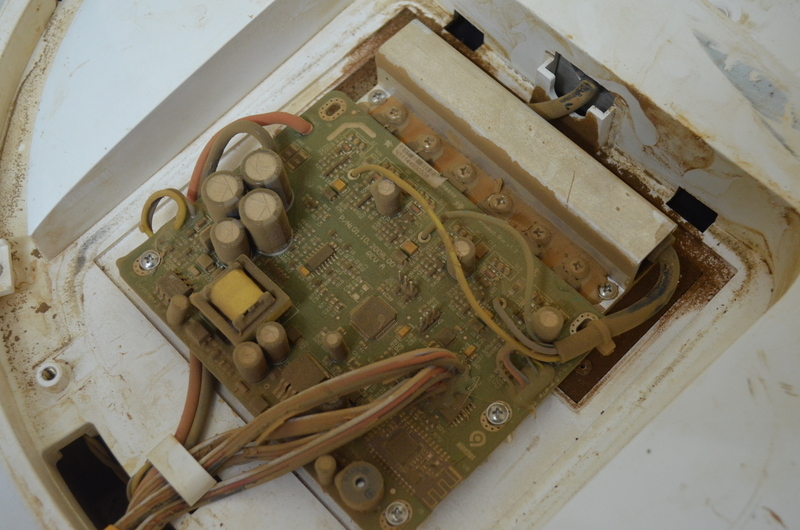
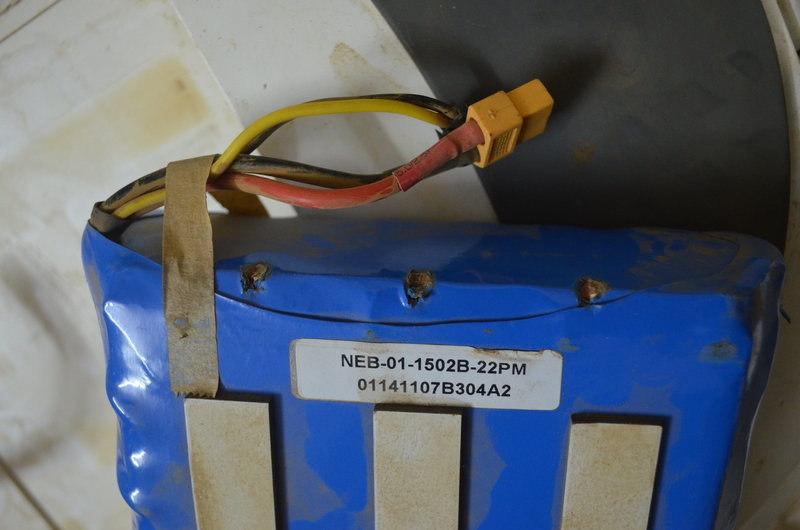
The picture above shows all the parts in Ninebot one teardown
Following are roughly our thoughts regarding the design of the Ninebot one - what we liked and what we did not.
To get access to the wheel, the pedal needs to be removed. We had a lot of trouble removing the pedal. There is a pin that needs to be removed to remove the pedal. The pin was jammed on one side. That took us a lot of time to pull that out.

There are a bunch of bolts that needs to be removed to remove the casing on one side. Those bolts were obvious except for one side. This one set was close to the pedal and hidden behind a pad that was glued to the plastic casing. The image above shows these sets of bolts that I am referring to.