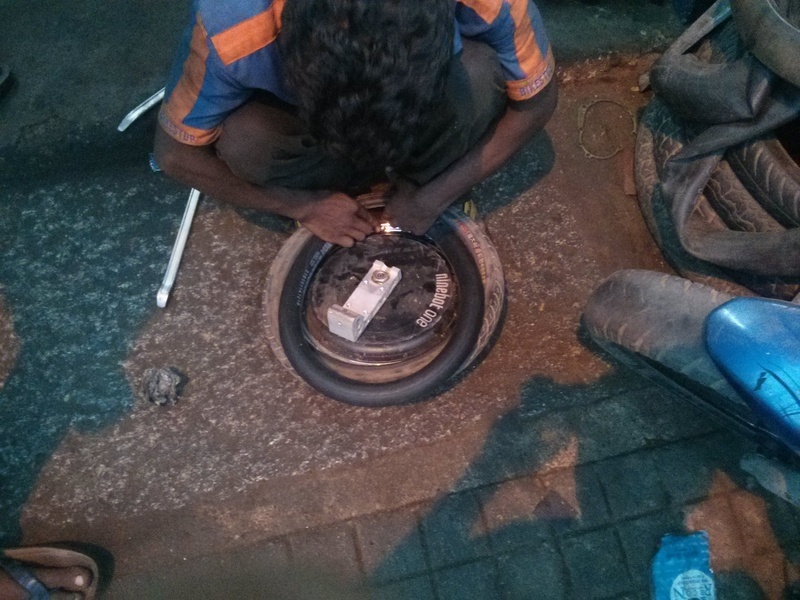
The Ninebot one that we have, was lying idle for a couple of days due to a puncture in the tire. We are demoing the unicycle at Construkt fest here in Bangalore. So we decided to fix the puncture.
Overall it took us close to 4hrs to fix the puncture. Apparently it seems we have to tear down the entire unicycle to repair a puncture. This was super painful. This time includes 2 trips to the puncture shop, tear down, putting it back and taking pictures in between.
The picture above shows all the parts in Ninebot one teardown
Following are roughly our thoughts regarding the design of the Ninebot one - what we liked and what we did not.
To get access to the wheel, the pedal needs to be removed. We had a lot of trouble removing the pedal. There is a pin that needs to be removed to remove the pedal. The pin was jammed on one side. That took us a lot of time to pull that out.
There are a bunch of bolts that needs to be removed to remove the casing on one side. Those bolts were obvious except for one side. This one set was close to the pedal and hidden behind a pad that was glued to the plastic casing. The image above shows these sets of bolts that I am referring to.
These set of bolts also came with a split washers as shown in the image above. They are 4 in number on each side. These split washers makes sense for this bolt as these bolts attach the body of the unicycle to the wheel axle. This is one of those critical joint where any loose connections on this joint would introduce errors in gyro readings and make the unicycle misbehave.
The rest of the bolts are without split washer. Couple of things that we liked - 1) They are using bolts instead of screws. This means we can afford to remove and assemble the unicycle a number of times. 2) All structural bolts are allen bolts. Star screws are used for fasteing covering plastic members that adds aesthetic to the device. So if you are removing an allen bolt, you are most likely removing a structural bolt. You might definitely not want to loose these bolts.
Once these bolts are removed, the casing on one side came of pretty easily. When one side, is removed it looks like the image above.
Our guess is that for fixing the puncture, this should do. But since we are half way though a tear down, we decided to go all the way. Moreover this is the second trip that we are making to the puncture shop - was not in a mood to make a 3rd trip in case if this level of disassembly was not sufficient.
So we removed everything, so that finally it was only the wheel assembly (tyre & hub motor). That we took to the puncture repair shop and got it fixed.
Couple of other observations made
1.
There was a ton of dust on the circuit board. We are super surprised to find this amount of dust on the circuit board. We are even more surprised that it still works. It looks like the Ninebot was not designed to work in the conditions in the farm/India. The typical places that we drive though has a lot of loose dust.
above
Weirdly there are 3 openings into the wheel cavity. You can see them in the image. This is where the dust in entering the circuit board cavity. When you drive though sandy/dusty area the wheel picks up a lot of dust, which eventually ends up here.
2.
The battery pack cover casing is biting into the battery pack. This is bad for the battery pack. If it punctures the battery pack, the battery pack will most likely catch fire. This is not good at all. For the time being we left it as it is. We should put a double sided tape at those points.


